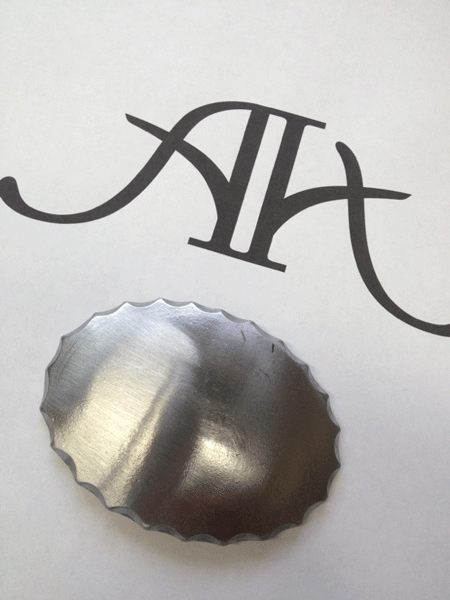
Steel Buckles - Tom's Newest Project
In 2012 Lyle Lovett approached Tom about making a very unique buckle for his girlfriend April. Tom took this challenge to heart and developed a steel buckle he could tie into the distinctive look of his bits and spurs. He played with different shapes, finishes, and overlay concepts and came up with a squared buckle in his signature brown finish featuring his stainless dots in a progressively smaller corner orientation. Lyle further customized the buckle with a personal message stamped on the backside and presented it to a very happy April. Since then, Tom has built different orientations of this steel buckle concept for several customers including a guest ranch. This blog is the step by step walk through of the process it takes to complete these beautiful buckles. Please note that these are broad steps that hold many small steps within. We hope you enjoy it as much as we did! Step one: The name, logo, or initials are determined.


Step two: The overlay is hand cut from sterling silver or alternatively chosen material.


